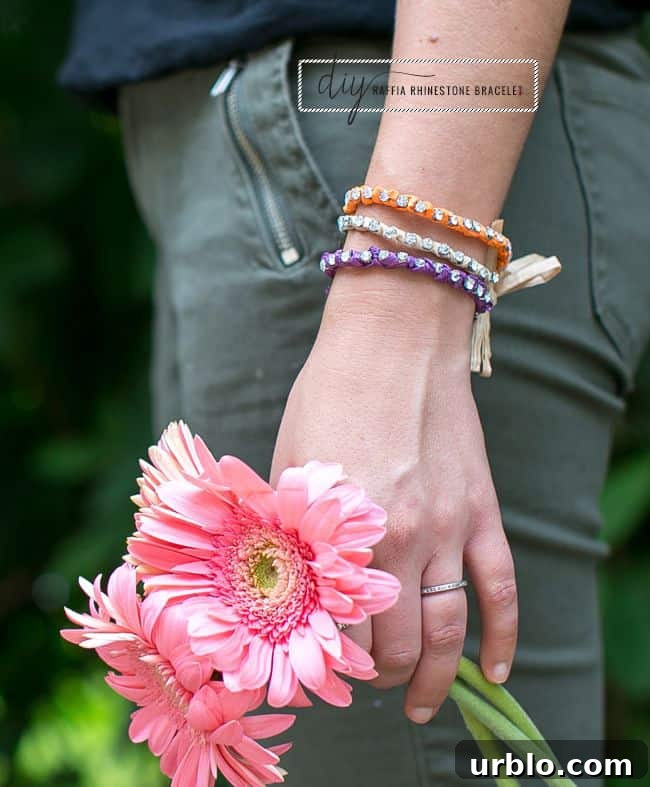
I’m deep in packing for next week’s beach trip — and yes, I dislike packing. Coordinating outfits for four people can become a full-blown “what to wear?” crisis. My five-year-old keeps things simple: she chooses a dress, preferably pink, often with ruffles or sequins.
While assembling an effortless beach look, I put together an easy DIY bracelet that captures the chic vibe of a high-end choker at a fraction of the cost. Raffia straw is an unexpectedly stylish material right now. It’s inexpensive, widely available, and a favorite among crafters for creating elevated pieces. Adding a rhinestone trim brings just the right touch of sparkle.
Raffia Rhinestone DIY Bracelet
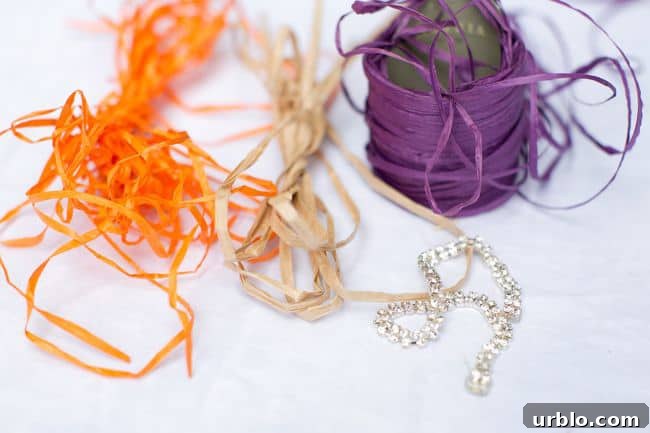
Supplies needed:
- Raffia (available at craft stores and many home-goods shops)
- Rhinestone trim
That’s it — just two materials to make a stylish bracelet. Follow the steps below.
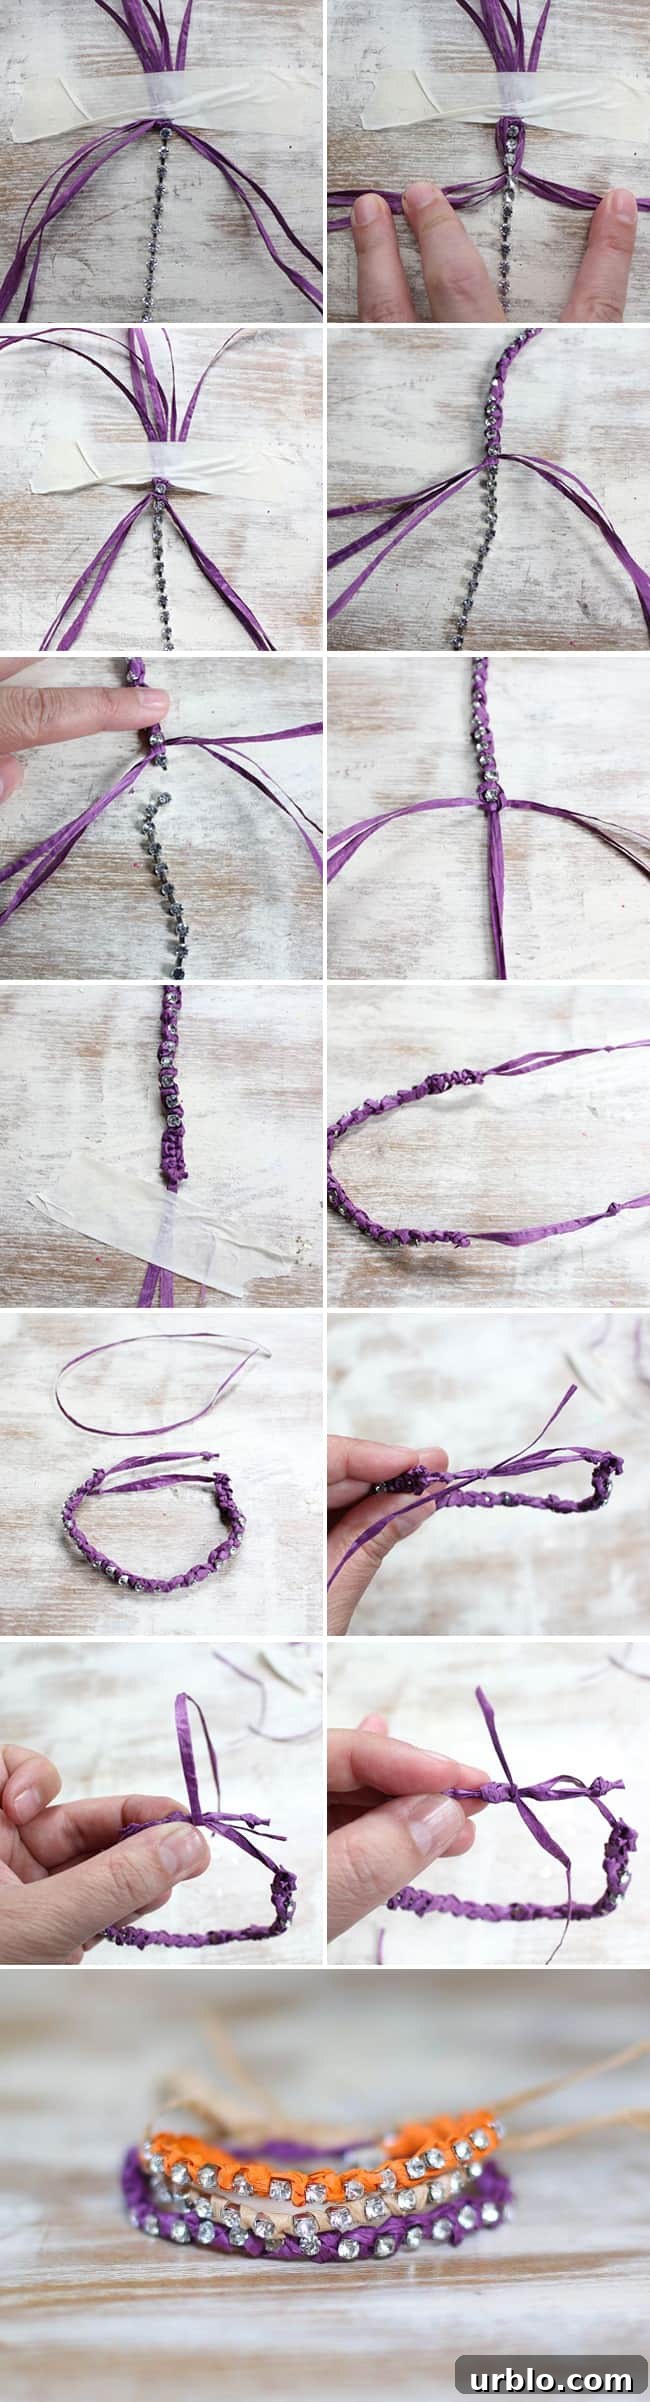
Step 1: Prepare the raffia. Start with six individual strands and secure them with tape at one end, leaving about 6 inches of loose raffia beyond the tape. Split the six strands into two groups of three and position the rhinestone trim centered between the groups.
Step 2: Attach the trim. Begin with a half knot to hold the trim in place, crossing the raffia strands behind the trim, then bringing them to the front to repeat the half knot. Continue this alternating motion down the length of the rhinestone trim. For a simpler approach, you can cross the raffia over each stitch from the front as you progress.
Step 3: Check sizing and finish one end. After working about 6 inches down the trim, try the piece on your wrist to check the length. If it’s long enough, trim the rhinestone trim at the last stone and secure it with a half knot. Divide the raffia into three sections of two strands each and macramé about an inch. Knot the outer sections and trim the excess. You should be left with a single two-strand piece; knot it about 2 inches from the bracelet and trim off the remaining length.
Step 4: Finish the other end. Repeat the same macramé and knotting steps at the opposite end so both ends have neat, finished cords. Then cut a short piece of raffia to bind the two ends together: line the end pieces up and wrap the short raffia around them for about 1/2 inch, knot, and trim the excess for a clean finish.
Step 5: Adjust and wear. Slide the bracelet onto your wrist and pull the end cords to fine-tune the fit.
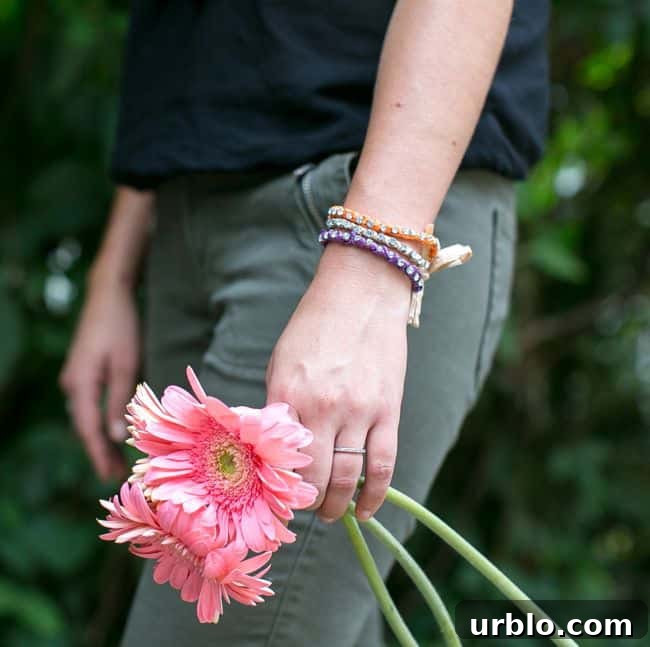
Optional closures: If you prefer an easier closure, leave the raffia strands long at each end and tie the bracelet on like a simple cord bracelet. Alternatively, attach a small lobster clasp for a more conventional finish.
This quick project is a great way to add a polished, handmade accessory to your summer wardrobe using minimal supplies. Are you a raffia fan too?